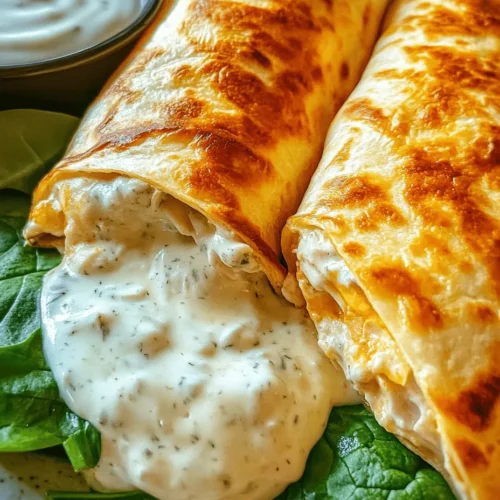
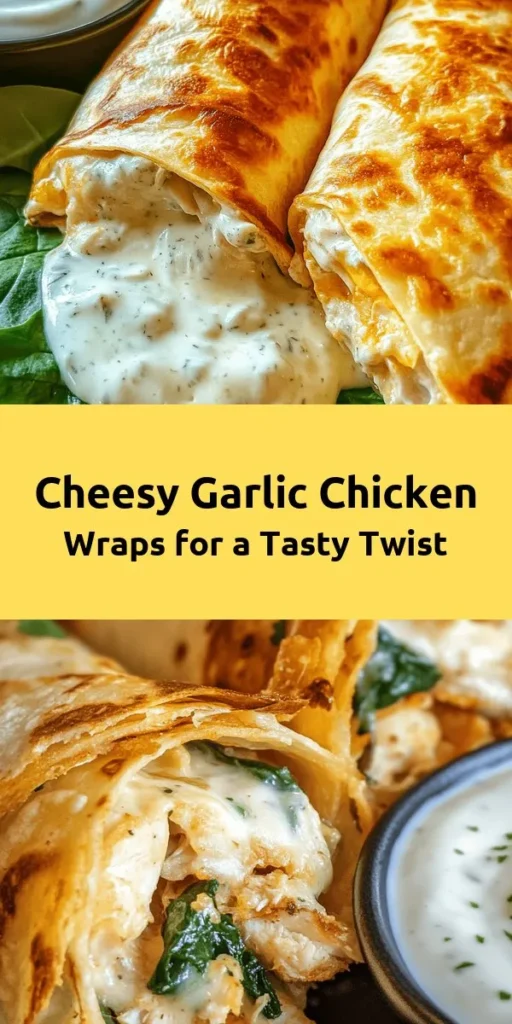
In the fast-paced world we live in, the quest for quick, satisfying meals is more important than ever. Enter wraps—a culinary creation that combines flavor and convenience into one delightful package. Wraps are a versatile option that can be filled with an array of ingredients, making them a popular choice for busy families, students, and anyone seeking a quick yet delicious meal solution. Among the myriad of wrap recipes, Cheesy Garlic Chicken Wraps stand out for their creamy, cheesy, and garlicky goodness, transforming ordinary chicken into a mouthwatering dish that everyone will love.
These Cheesy Garlic Chicken Wraps are not just easy to prepare; they are also a crowd-pleaser that brings the whole family together. Whether you are looking for a weeknight dinner idea or a meal prep option for the busy week ahead, this recipe checks all the boxes. The combination of shredded chicken, two types of cheese, and savory garlic creates an irresistible filling that is both rich and comforting.
One of the best aspects of this recipe is its versatility. You can easily customize it to suit various tastes and dietary preferences. Whether you prefer a bit of spice, want to add some greens, or are looking to use up leftover ingredients, these wraps can adapt to your needs. Plus, they are perfect for lunchboxes, late-night snacks, or a quick dinner after a long day. Let’s dive into the ingredients that make this dish a standout!
Understanding the Ingredients
To create delicious Cheesy Garlic Chicken Wraps, it’s essential to understand the key ingredients that come together to create this flavorful meal. Each component plays a crucial role in delivering the ultimate taste experience.
Shredded Chicken
At the heart of the Cheesy Garlic Chicken Wraps is, of course, the chicken. Shredded chicken is not only protein-rich but also incredibly convenient for this recipe. You can use leftover chicken from a previous meal, which not only saves time but also reduces food waste. Alternatively, rotisserie chicken from your local grocery store is another excellent option, providing a flavorful base without any fuss.
Using shredded chicken is advantageous because it absorbs the flavors of the other ingredients beautifully, ensuring that each bite is packed with savory goodness. Moreover, chicken is a versatile protein that pairs effortlessly with a variety of flavors, making it an ideal choice for wraps.
Mozzarella and Cream Cheese
Next up are the cheeses that elevate the wraps into a creamy delight. Mozzarella cheese is known for its mild flavor and stretchy texture, making it a favorite in many recipes. In these wraps, mozzarella not only contributes to the cheesy flavor but also adds a delightful gooeyness that pulls everything together.
Cream cheese, on the other hand, brings a rich creaminess to the filling. Its smooth texture helps bind the ingredients while adding a luxurious mouthfeel. If you’re looking for alternatives, you could consider using a low-fat cream cheese for a lighter option or even Greek yogurt for a healthier twist.
Garlic
Garlic is the star of the show in these wraps, providing a robust flavor that elevates the entire dish. Not only does it add depth to the taste, but garlic is also renowned for its numerous health benefits, including anti-inflammatory and immune-boosting properties. Fresh garlic cloves can be minced and sautéed for a more intense flavor, or you can use garlic powder for a quick and easy option.
Optional Ingredients
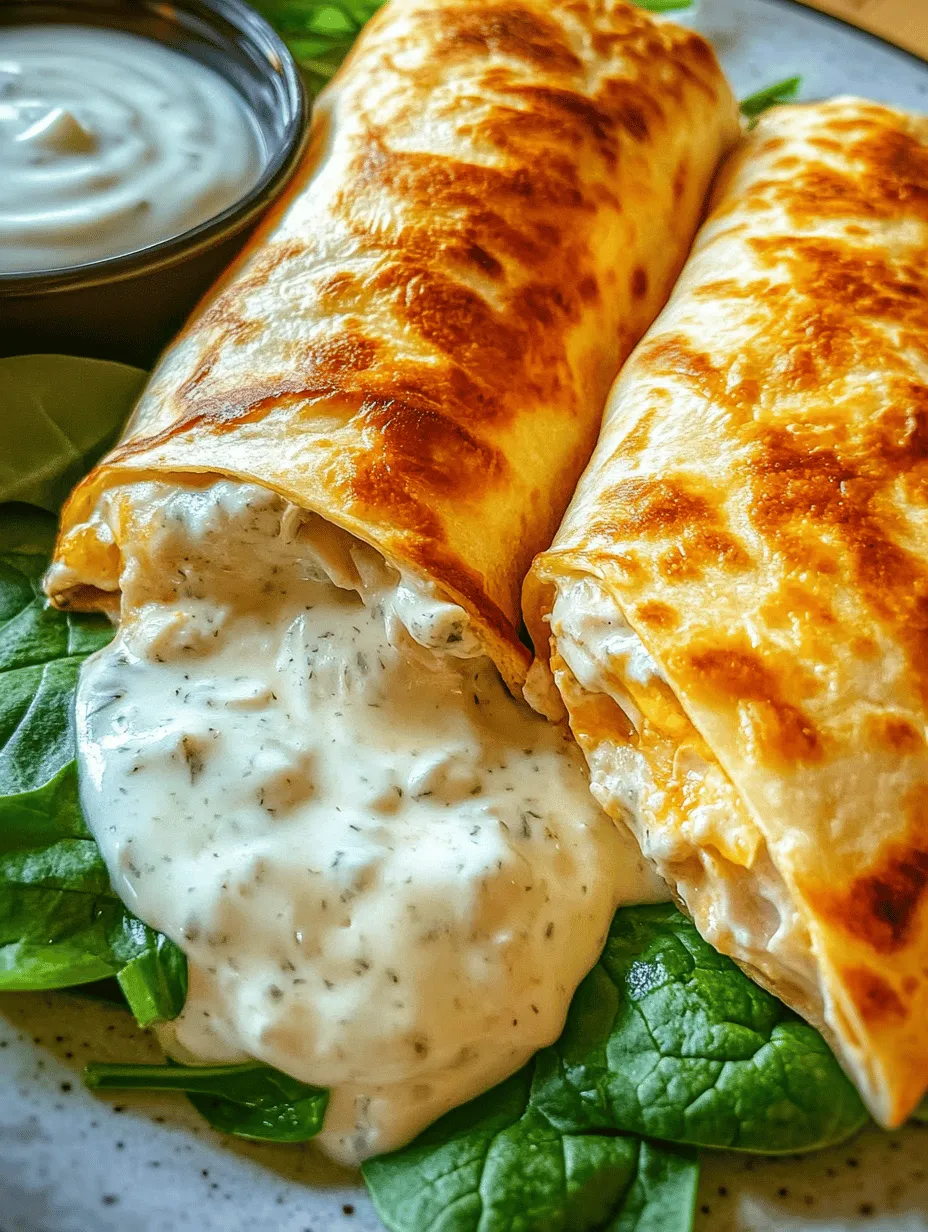
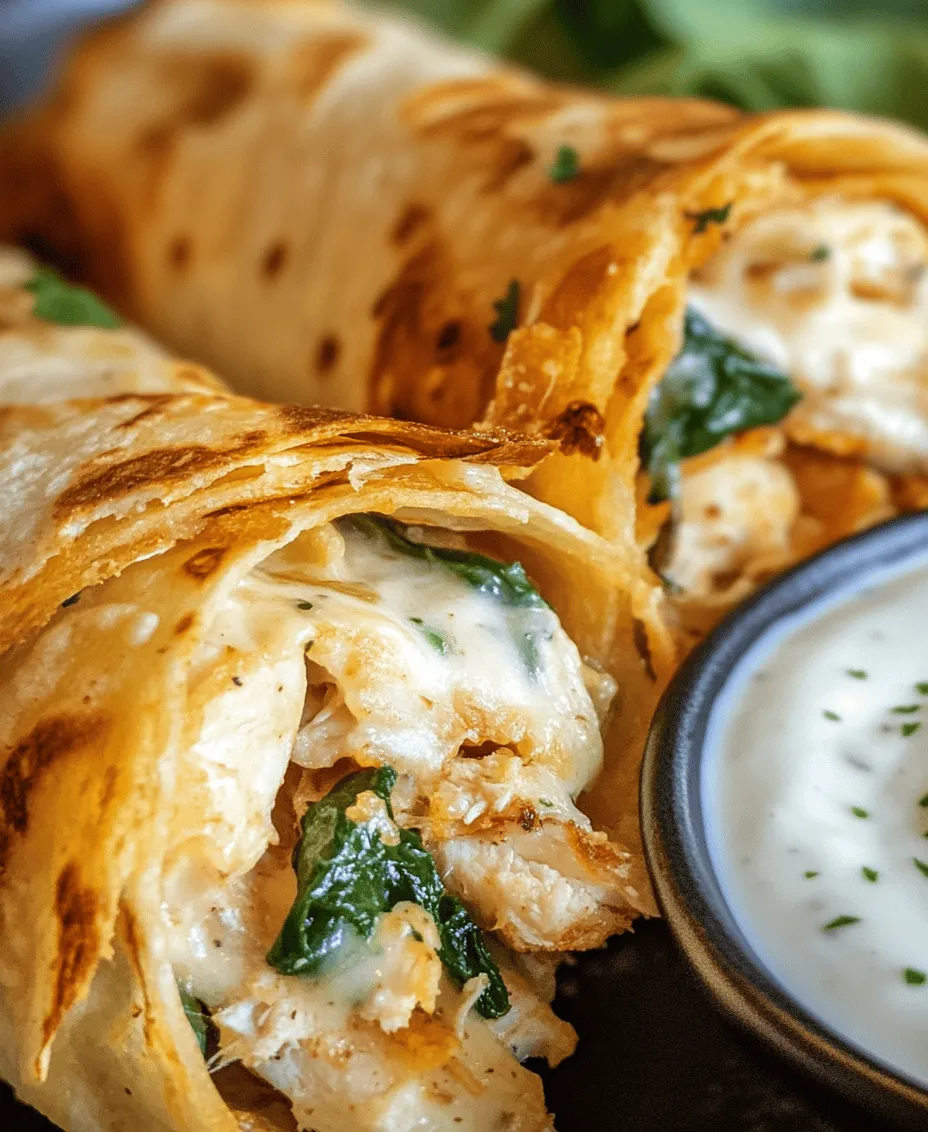
To enhance the flavor and nutritional value of your Cheesy Garlic Chicken Wraps, consider incorporating optional ingredients like fresh spinach or ranch dressing. Spinach adds a pop of color and boosts the nutrient content, while ranch dressing can provide a creamy tanginess that complements the other flavors beautifully.
Feel free to experiment and make these wraps your own! The beauty of this recipe lies in its adaptability, allowing you to cater to your family’s preferences effortlessly.
Step-by-Step Guide to Making Cheesy Garlic Chicken Wraps
Now that we’ve covered the essential ingredients, let’s dive into the preparation of these delicious Cheesy Garlic Chicken Wraps. The following steps will guide you through creating the perfect filling, warming the tortillas, and assembling the wraps for optimal flavor and presentation.
Preparation of the Filling
1. Combine Ingredients: Start by preparing the filling for your wraps. In a mixing bowl, combine the shredded chicken, mozzarella cheese, cream cheese, and minced garlic. Stir until all the ingredients are well incorporated.
2. Achieving the Right Consistency: It’s important to achieve the right consistency for the filling. The mixture should be creamy but not too runny. If you find the filling is a bit dry, consider adding a splash of milk or ranch dressing to moisten it, ensuring that it spreads easily onto the tortillas.
3. Seasoning: Don’t forget the seasoning! Taste the mixture and adjust the seasoning with salt and pepper as needed. You can also add herbs like oregano or parsley for an extra layer of flavor.
Warming the Tortillas
Warming your tortillas is a crucial step that ensures they are pliable and easy to fold. Here are a few methods to warm your tortillas effectively:
– Microwave: Place a stack of tortillas on a microwave-safe plate, cover them with a damp paper towel, and microwave for about 30 seconds or until warmed through. This method is quick and keeps the tortillas soft.
– Oven: Preheat your oven to 350°F (175°C). Wrap the tortillas in aluminum foil and place them in the oven for about 10-15 minutes, or until heated. This method is great if you are warming a larger batch of tortillas.
– Stovetop: Heat a skillet over medium heat. Place a tortilla in the skillet for about 30 seconds on each side, just until warm and flexible. This method adds a slight char that can enhance the flavor.
Choosing the right warming method can significantly impact the texture of your wraps, making them easier to fold without tearing.
Assembling the Wraps
1. Lay Out the Tortillas: Once your tortillas are warm, lay them flat on a clean surface or a cutting board.
2. Add the Filling: Spoon a generous amount of the cheesy garlic chicken filling into the center of each tortilla. Be careful not to overfill, as this can make wrapping challenging.
3. Folding Technique: To assemble the wraps, start by folding the sides of the tortilla inwards, then roll it up from the bottom to the top, tucking in the sides as you go. This technique helps keep the filling secure inside the wrap.
4. Securing the Wraps: If you’re concerned about the wraps staying closed during cooking, consider using toothpicks to secure them or wrapping them tightly in parchment paper. This not only keeps everything in place but also makes for easy handling.
With the wraps assembled, they are now ready to be cooked or served! You can choose to grill them, bake them, or simply serve them cold, depending on your preference.
By following these initial steps, you are well on your way to creating a delicious meal that is sure to impress your family and friends. Stay tuned for the next part, where we will delve into the cooking process and additional tips to make your Cheesy Garlic Chicken Wraps even more delightful.
Cooking the Wraps
Once you have prepared your cheesy garlic chicken filling, it’s time to cook the wraps to perfection. Achieving that golden, crispy exterior while ensuring the inside is warm and delicious is essential.
Ideal Cooking Temperature and Time
For the best results, preheat your skillet or grill to medium-high heat (around 375°F to 400°F). This temperature allows the wraps to crisp up without burning. If you are using a non-stick skillet, you can often skip the oil, but for added flavor and crunch, consider using a tablespoon of olive oil or butter.
Cook each wrap for about 3 to 4 minutes on each side. You’ll know they are ready to flip when the underside is golden brown and crispy. If you’re cooking in batches, keep the finished wraps warm in a low-temperature oven while you finish the rest.
Safety Tips for Flipping the Wraps
Flipping the wraps can sometimes be tricky, especially if they are loaded with filling. To prevent any spillage, use a wide spatula to support the entire wrap while flipping. Gently slide the spatula under the wrap, ensuring it’s well supported, and then carefully lift it to turn. This technique minimizes the risk of losing any of the delicious filling. If you find the wraps difficult to handle, consider cooking one wrap at a time to give yourself more control.
Serving Suggestions
Cheesy garlic chicken wraps are versatile and can be served in various ways. Here are a few creative ideas for garnishing or serving alongside your wraps:
– Fresh Veggies: Serve the wraps with a side of fresh carrot sticks, cucumber slices, or cherry tomatoes for a refreshing crunch. These add color and nutrients to your meal.
– Dips: Pair your wraps with a variety of dips. A creamy ranch or blue cheese dressing complements the garlic flavor beautifully. Alternatively, a zesty salsa or guacamole can add a fresh twist.
– Salads: Consider a side salad with mixed greens dressed lightly with olive oil and lemon juice to balance the richness of the wraps.
The wraps can be enjoyed hot right off the skillet or at room temperature, making them ideal for picnics or packed lunches. They maintain their flavor and texture well, so feel free to experiment with how you serve them.
Nutritional Information
Understanding the nutritional content of your meals can help you make informed choices. Here’s a breakdown of the nutritional information per serving of Cheesy Garlic Chicken Wraps:
– Calories: Approximately 350-400 calories
– Protein: 25-30 grams
– Fats: 15-20 grams
– Carbohydrates: 30-35 grams
The primary ingredients provide a well-rounded meal. The chicken offers a lean source of protein, while cheese contributes healthy fats. Whole wheat tortillas can add fiber, which is essential for digestive health.
Health Aspects of Ingredients
The ingredients used in these wraps are not only delicious but also have health benefits. Lean chicken breast is a great source of protein, which is important for muscle repair and growth. Garlic is known for its immune-boosting properties and can help lower blood pressure. The addition of vegetables enhances the nutritional profile, providing vitamins and minerals essential for overall health.
If you’re looking to modify the recipe for specific dietary needs, consider the following tips:
– Low-Carb: Use lettuce leaves instead of tortillas for a low-carb, keto-friendly option.
– Dairy-Free: Substitute cheese with a dairy-free alternative or omit it entirely for a lighter wrap.
– Gluten-Free: Use gluten-free tortillas made from rice or corn to accommodate gluten sensitivity.
Variations and Customizations
One of the great things about Cheesy Garlic Chicken Wraps is their versatility. Here are some suggestions for customizing the recipe based on personal preferences or dietary restrictions:
– Different Proteins: Rather than chicken, you can use ground turkey or beef, shredded pork, or even plant-based proteins like tofu or tempeh. Each variation will bring a distinct flavor and texture to the wraps.
– Alternative Seasonings: If you prefer a bit of spice, consider adding cayenne pepper or chili powder to the filling. For a southwestern twist, incorporate taco seasoning or cumin for added depth.
– Tortilla Options: Experiment with different types of tortillas. Whole wheat tortillas add extra fiber; spinach tortillas provide a nutritional boost and vibrant color, while gluten-free options cater to those with dietary restrictions.
Storing and Reheating Cheesy Garlic Chicken Wraps
If you have leftovers or want to prepare the wraps in advance, proper storage is key to maintaining their flavor and texture.
Best Practices for Storing Leftover Wraps
– Refrigeration: Place any leftover wraps in an airtight container and refrigerate. They can last for up to 3-4 days.
– Freezing: For longer storage, consider freezing the wraps. Wrap them individually in plastic wrap or foil before placing them in a freezer-safe bag. They can be stored for up to 2 months.
Guidelines for Reheating
To reheat the wraps without compromising their texture and flavor, follow these guidelines:
– Oven: Preheat your oven to 350°F (175°C). Place the wraps on a baking sheet and cover them loosely with foil to prevent drying out. Heat for about 10-15 minutes or until warmed through.
– Microwave: If you’re in a hurry, the microwave is a quick option. Place the wraps on a microwave-safe plate and cover with a damp paper towel. Heat in 30-second intervals until warmed. Be cautious, as microwaving can make the wraps soggy.
Shelf Life and Food Safety Considerations
Always check for signs of spoilage before consuming leftovers. If the wraps have an off smell or appearance, it’s best to discard them. When reheating, ensure the internal temperature reaches at least 165°F (74°C) to guarantee food safety.
Conclusion
In conclusion, Cheesy Garlic Chicken Wraps offer a delightful combination of flavors and textures, making them a fantastic meal option for families and individuals alike. Their ease of preparation and versatility means they can be enjoyed at any time—be it a quick lunch, a picnic, or a satisfying dinner.
We encourage you to experiment with the recipe, customizing it to suit your taste preferences or dietary needs. With endless possibilities for variations and creative serving suggestions, these wraps are sure to become a favorite in your household. Embrace the joy of cooking and make these wraps your own, savoring each delicious bite along the way.